


How to make a water clock
Head back in time with this cool science experiment!
How did people measure time before the invention of clocks or stopwatches? Well, the Ancient Greeks used a water clock called a clepsydra – and you can, too!
How to make a water clock
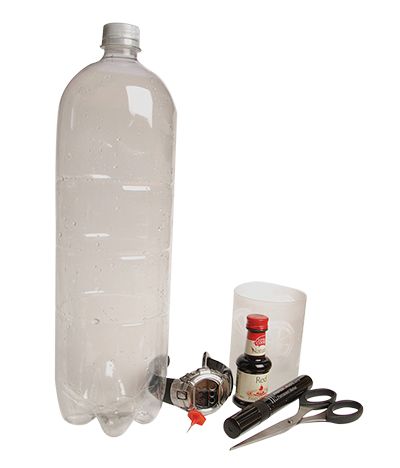
What you’ll need…
Large, clear plastic bottle
Scissors
Drawing pin
Marker pen
Food colouring
Stopwatch
Step 1
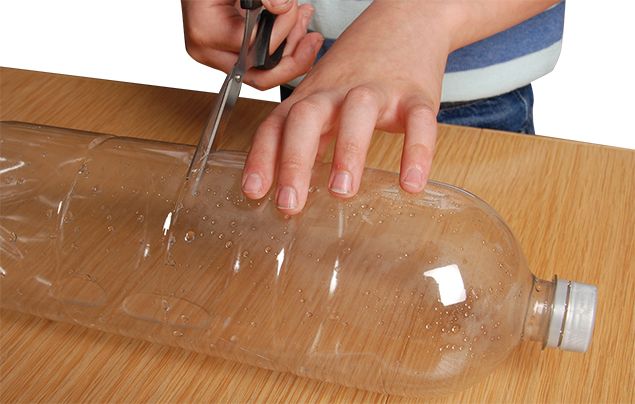
First, roughly measure halfway down the bottle, then carefully cut the bottle in two using the scissors. This can be tricky, so ask an adult to help.
Step 2
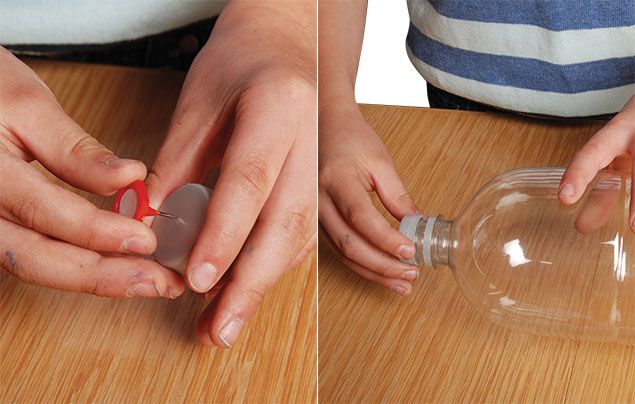
Now, unscrew the top of the bottle and make a small hole in it using the drawing pin – ask an adult to help. Then put the lid back on the bottle.
Step 3
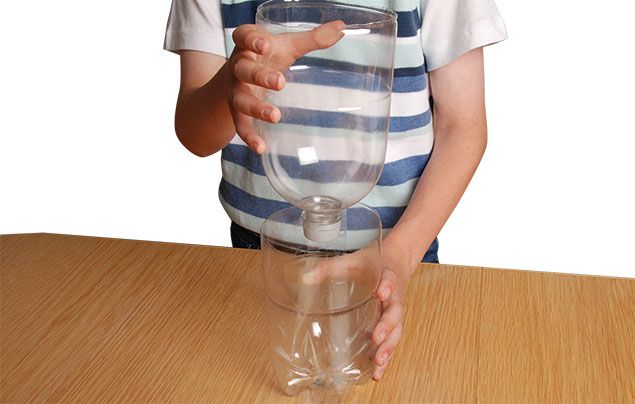
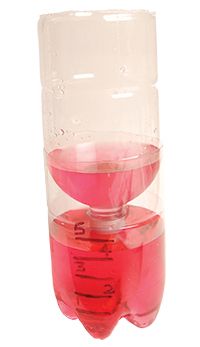
Next, turn the top half of the bottle upside down and place it inside the bottom half, so that the bottle top is facing downwards.
Step 4
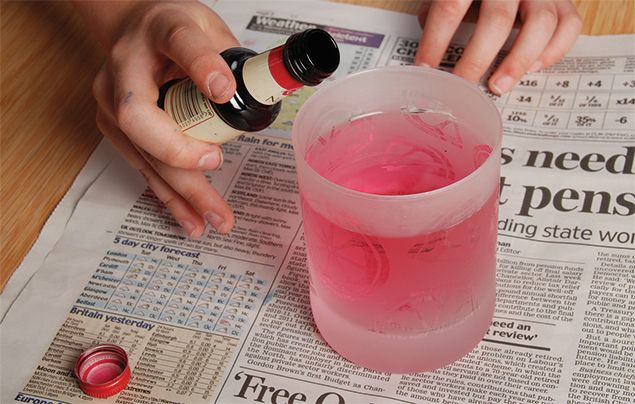
Now, mix a few drops of the food colouring into a pint of water, and then have your stopwatch at the ready!
Step 5
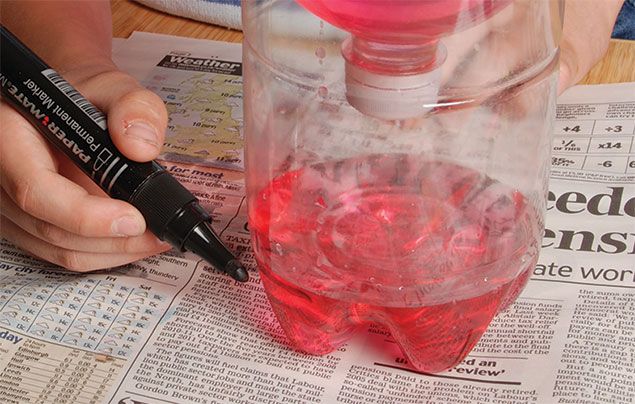
Pour the water into the top of the bottle and then start timing. Each time a minute passes, mark a line at the water level of the bottom bottle.
Step 6
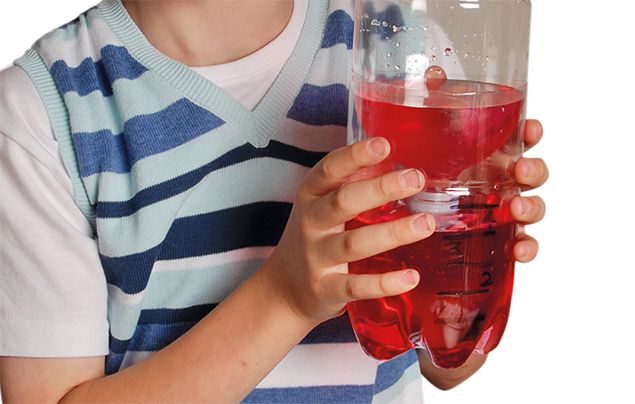
Once all the water has passed into the bottom bottle, pour the water back into the top half and count off the minutes as the water pours down. Clever!
Did you know…? Water clocks are thought to be one of the oldest time-measuring devices in the world – some have been found that date back to the 14th century B.C!


LEAVE A COMMENT
THANK YOU
Your comment will be checked and approved shortly.
WELL DONE,
YOUR COMMENT
HAS BEEN ADDED!
COMMENTS1
Hahaha
Cat9
Cool
Cat9
Cool
Ana
I like this
Quinn
This was so much fun
CUSTOMIZE YOUR AVATAR